How to Add Redux to Your Next.js App
Redux is a global state management library. It's used to centralize all your application's state inside one store. Which means all your states are in one place, making it easier to maintain. It defines core concepts on how to update your state that makes it more predictable. Leading to less bugs. It is compatible with many JavaScript frameworks but most commonly used with React. In this blog we will be learning how to add Redux to your Next.js App.

Jordan Wu
5 min·Posted

Table of Contents
What is Redux?
Redux is based on three principles that will make state management more maintainable and predictable. States are data used in web applications that could be what you see on the web page to how you interact with the application. As web applications grow in complexity so does the state it needs to manage. What became increasingly complicated was updating many states at the same time. This was difficult to do until Redux. It made state management a breeze and improved developer experience.
Three Principles
Single Source of Truth
The global state of your application is stored in an object tree within a single store. You can think of the store as one JavaScript object that represents your application state. This makes the state predictable and easier to manage.
{
  playlist: {
    autoplay: false,
    repeat: 0,
    shuffle: false,
    trackIndex: 0,
    tracks: [
      {
        title: 'Nothing But the Radio',
        src: 'https://tracks.jordanwu.xyz/black-bear-the-sex-mixtape/Nothin-But-the-Radio.mp3',
        artist: 'Blackbear',
        album: 'Sex the Mixtape',
        thumbnail: 'https://images.jordanwu.xyz/albums/black-bear-the-sex-mixtape/black-bear-sex-the-mixtape.jpeg',
        thumbnailSmall:
          'https://images.jordanwu.xyz/albums/black-bear-the-sex-mixtape/black-bear-sex-the-mixtape-96x96.jpeg',
        artworks: [
          {
            src: 'https://images.jordanwu.xyz/albums/black-bear-the-sex-mixtape/black-bear-sex-the-mixtape-96x96.jpeg',
            sizes: '96x96',
            type: 'image/jpeg',
          },
          {
            src: 'https://images.jordanwu.xyz/albums/black-bear-the-sex-mixtape/black-bear-sex-the-mixtape-128x128.jpeg',
            sizes: '128x128',
            type: 'image/jpeg',
          },
          {
            src: 'https://images.jordanwu.xyz/albums/black-bear-the-sex-mixtape/black-bear-sex-the-mixtape-192x192.jpeg',
            sizes: '192x192',
            type: 'image/jpeg',
          },
          {
            src: 'https://images.jordanwu.xyz/albums/black-bear-the-sex-mixtape/black-bear-sex-the-mixtape-192x192.jpeg',
            sizes: '256x256',
            type: 'image/jpeg',
          },
          {
            src: 'https://images.jordanwu.xyz/albums/black-bear-the-sex-mixtape/black-bear-sex-the-mixtape-384x384.jpeg',
            sizes: '384x384',
            type: 'image/jpeg',
          },
          {
            src: 'https://images.jordanwu.xyz/albums/black-bear-the-sex-mixtape/black-bear-sex-the-mixtape-512x512.jpeg',
            sizes: '512x512',
            type: 'image/jpeg',
          },
        ],
      },
      ...
    ],
  }
}
In this example our store has a playlist that contains the state of our audio player. It has a list of tracks and keeps track of which track is selected as trackIndex. Other states are used to determine what the shuffle and repeat icon should be displayed.
State is read-only
The only way to change the state is to emit an action, an object describing what happened. An action is a plain object that represents an intention to change the state. For the state to be read-only the state is an immutable object and cannot be mutated. This ensures that the state is not modified directly, making the state changes traceable and predictable.
const setAutoplay = {
  type: 'SET_AUTOPLAY',
  payload: true,
}

const setNextPlaylistTrack = {
  type: 'SET_NEXT_PLAYLIST_TRACK',
}

const setPreviousPlaylistTrack = {
  type: 'SET_PREVIOUS_PLAYLIST_TRACK',
}

const setPlaylistTrack = {
  type: 'SET_PLAYLIST_TRACK',
  payload: 1,
}

const setRepeat = {
  type: 'SET_REPEAT',
  payload: 1,
}

const toggleShuffle = {
  type: 'TOGGLE_SHUFFLE',
}
In the example we have many actions that will be used to update our playlist state in the store. Each action consists of two fields. type is the name of the action and payload is optional data that is needed to update playlist state.
Changes are made with pure functions
To specify how the state tree is transformed by actions, you write pure reducers. Reducers are just pure functions that take the previous state and an action, and return the next state. Pure functions are functions that return the exact same output for given inputs. Remember to return new state objects, instead of mutating the previous state.
function playlistReducer(state, action) {
  switch (action.type) {
    case 'SET_AUTOPLAY':
      return {
        ...state,
        autoplay: !state.autoplay,
      }
    case 'SET_NEXT_PLAYLIST_TRACK':
      return {
        ...state,
        trackIndex: state.trackIndex + 1,
      }
    case 'SET_PREVIOUS_PLAYLIST_TRACK':
      return {
        ...state,
        trackIndex: state.trackIndex - 1,
      }
    case 'SET_PLAYLIST_TRACK':
      return {
        ...state,
        trackIndex: action.payload,
      }
    case 'SET_REPEAT':
      return {
        ...state,
        repeat: action.payload,
      }
    case 'TOGGLE_SHUFFLE':
      return {
        ...state,
        shuffle: !state.shuffle,
      }
    default:
      return state
  }
}
In the example is playlistReducer that is a pure function that will handle updating our state using spread syntax that returns a new object of the state. Not returning a new object will result in the store not knowing a state has been updated as it compares objects as references, an address in memory.
How to Add Redux to Next.js App Router
Next.js is a full stack framework and supports server side rendering which presents some unique challenges when using Redux. This approach focuses on the App Router architecture of Next.js and will be adding a playlist state. Start by downloading @reduxjs/toolkit and react-redux dependencies.
pnpm add @reduxjs/toolkit react-redux
Redux Toolkit RTK is the current standard to write Redux logic. It aligns with Redux Style Guide: Best Practices, simplifies many Redux tasks, prevents common mistakes, and makes it easier to maintain your Redux logic. Redux state is typically organized into "slices". Add a file called createAppSlice.ts in the lib directory.
import { asyncThunkCreator, buildCreateSlice } from '@reduxjs/toolkit'

// `buildCreateSlice` allows us to create a slice with async thunks.
export const createAppSlice = buildCreateSlice({
  creators: { asyncThunk: asyncThunkCreator },
})
This will be our application slice used to create our playlistSlice.ts.
import { createAppSlice } from '@/lib/createAppSlice'
import { TRACKS } from '@/utils/tracks'

import type { Track } from '@/utils/tracks'
import type { PayloadAction } from '@reduxjs/toolkit'

export interface PlaylistSliceState {
  autoplay: boolean
  repeat: number
  shuffle: boolean
  trackIndex: number
  tracks: Track[]
}

const initialState: PlaylistSliceState = {
  autoplay: false,
  repeat: 0,
  shuffle: false,
  trackIndex: 0,
  tracks: TRACKS,
}

export const playlistSlice = createAppSlice({
  name: 'playlist',
  initialState,
  reducers: (create) => ({
    setAutoplay: create.reducer((state, action: PayloadAction<boolean>) => {
      state.autoplay = action.payload
    }),
    setNextPlaylistTrack: create.reducer((state) => {
      state.trackIndex += 1
    }),
    setPreviousPlaylistTrack: create.reducer((state) => {
      state.trackIndex -= 1
    }),
    setPlaylistTrack: create.reducer((state, action: PayloadAction<number>) => {
      state.trackIndex = action.payload
    }),
    setRepeat: create.reducer((state, action: PayloadAction<number>) => {
      state.repeat = action.payload
    }),
    toggleShuffle: create.reducer((state) => {
      state.shuffle = !state.shuffle
    }),
  }),
  selectors: {
    selectAutoplay: (playlist) => playlist.autoplay,
    selectRepeat: (playlist) => playlist.repeat,
    selectShuffle: (playlist) => playlist.shuffle,
    selectTrackIndex: (playlist) => playlist.trackIndex,
    selectTracks: (playlist) => playlist.tracks,
  },
})

export const {
  setAutoplay,
  setNextPlaylistTrack,
  setPlaylistTrack,
  setPreviousPlaylistTrack,
  setRepeat,
  toggleShuffle,
} = playlistSlice.actions

export const { selectAutoplay, selectRepeat, selectShuffle, selectTrackIndex, selectTracks } = playlistSlice.selectors
This file contains the initial state for the playlist state, reducers for updating the playlist state, and selectors for accessing state data. Next to create the store in store.ts.
import type { Action, ThunkAction } from '@reduxjs/toolkit'
import { combineSlices, configureStore } from '@reduxjs/toolkit'
import { playlistSlice } from './features/playlist/playlistSlice'

// `combineSlices` automatically combines the reducers using
// their `reducerPath`s, therefore we no longer need to call `combineReducers`.
const rootReducer = combineSlices(playlistSlice)
// Infer the `RootState` type from the root reducer
export type RootState = ReturnType<typeof rootReducer>

// `makeStore` encapsulates the store configuration to allow
// creating unique store instances, which is particularly important for
// server-side rendering (SSR) scenarios. In SSR, separate store instances
// are needed for each request to prevent cross-request state pollution.
export const makeStore = () => {
  return configureStore({
    reducer: rootReducer,
  })
}

// Infer the return type of `makeStore`
export type AppStore = ReturnType<typeof makeStore>
// Infer the `AppDispatch` type from the store itself
export type AppDispatch = AppStore['dispatch']
export type AppThunk<ThunkReturnType = void> = ThunkAction<ThunkReturnType, RootState, unknown, Action>
This will create our store based on our playlistSlice. Next create StoreProvider to give Next.js pages access to the store.
'use client'
import { makeStore } from '@/lib/store'
import { setupListeners } from '@reduxjs/toolkit/query'
import type { ReactNode } from 'react'
import { useEffect, useRef } from 'react'
import { Provider } from 'react-redux'

import type { AppStore } from '@/lib/store'

type StoreProviderProps = {
  children: ReactNode
}

export default function StoreProvider(props: StoreProviderProps) {
  const storeRef = useRef<AppStore | null>(null)

  const { children } = props

  if (!storeRef.current) {
    // Create the store instance the first time this renders
    storeRef.current = makeStore()
  }

  useEffect(() => {
    if (storeRef.current != null) {
      // configure listeners using the provided defaults
      // optional, but required for `refetchOnFocus`/`refetchOnReconnect` behaviors
      const unsubscribe = setupListeners(storeRef.current.dispatch)
      return unsubscribe
    }
  }, [])

  return <Provider store={storeRef.current}>{children}</Provider>
}
Now hook up the provider in layout.tsx.
import StoreProvider from '@/providers/StoreProvider'

export default function RootLayout({
  children,
}: {
  children: React.ReactNode
}) {
  return (
    <html lang="en">
      <body>
        <StoreProvider>{children}</StoreProvider>
      </body>
    </html>
  )
With TypeScript it's important to have type safety which requires one additional step of adding hooks. Create a hooks.ts file.
// This file serves as a central hub for re-exporting pre-typed Redux hooks.
import { useDispatch, useSelector, useStore } from 'react-redux'
import type { AppDispatch, AppStore, RootState } from './store'

// Use throughout your app instead of plain `useDispatch` and `useSelector`
export const useAppDispatch = useDispatch.withTypes<AppDispatch>()
export const useAppSelector = useSelector.withTypes<RootState>()
export const useAppStore = useStore.withTypes<AppStore>()
That's everything you need to get Redux working in Next.js! To test this out you use the following hooks to access the Redux store.
import { useAppSelector, useAppDispatch } from '@/lib/hooks'
import {
  selectAutoplay,
  selectRepeat,
  selectShuffle,
  selectTrackIndex,
  selectTracks,
  setAutoplay,
  setNextPlaylistTrack,
  setPlaylistTrack,
  setPreviousPlaylistTrack,
  setRepeat,
  toggleShuffle,
} from '@/lib/features/playlist/playlistSlice'

export default function AudioPlayerBottomNavbar() {
  const tracks = useAppSelector(selectTracks)
  const trackIndex = useAppSelector(selectTrackIndex)
  const autoplay = useAppSelector(selectAutoplay)
  const shuffle = useAppSelector(selectShuffle)
  const repeat = useAppSelector(selectRepeat)
  const dispatch = useAppDispatch()

  dispatch(setAutoplay(false))
  dispatch(setNextPlaylistTrack())
  dispatch(setPlaylistTrack(0))
  dispatch(setPreviousPlaylistTrack())
  dispatch(setRepeat(1))
  dispatch(toggleShuffle())
}
Summary
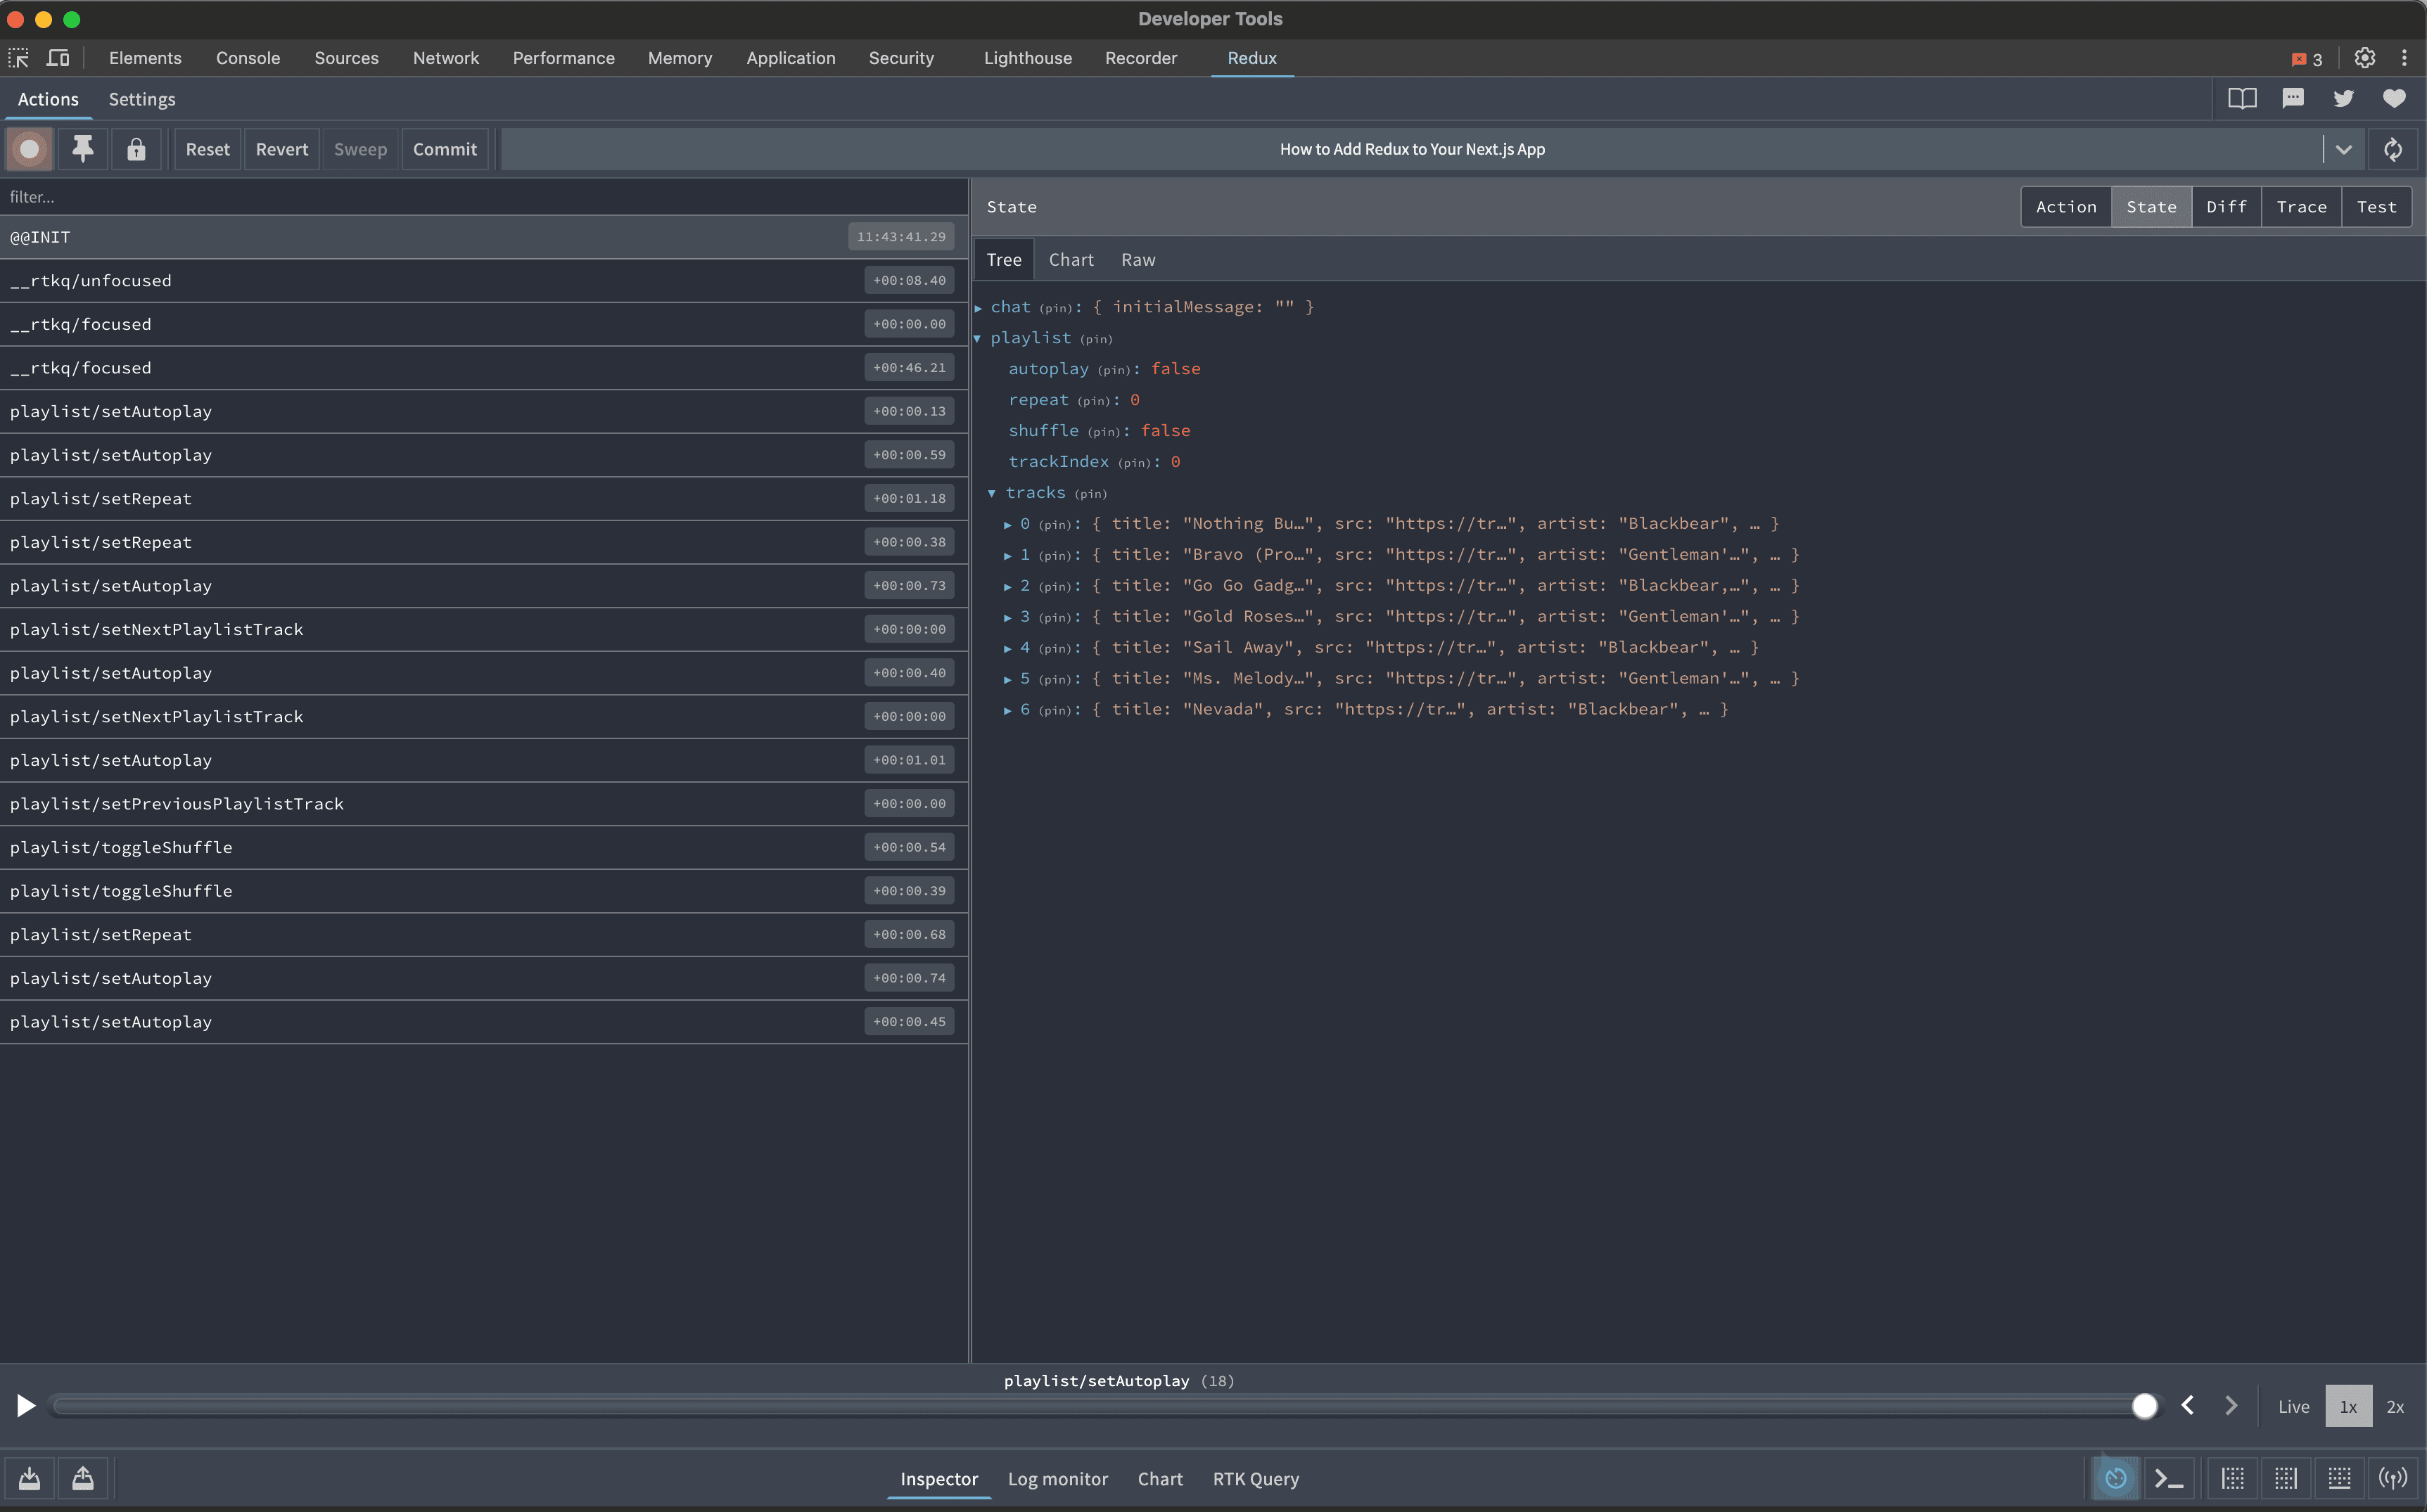
Once you added Redux to your Next.js app. You have a centralized store that is accessible anywhere in your app. You get type checking with the help of TypeScript which makes it easier to develop and leads to increased productivity. Redux makes state management easy as your application grows in complexity. Be sure to check out Redux DevTools is a chrome extension that you can use when developing to help with debugging.