How to Store Images in AWS S3
When it comes to storing images for your website. Amazon Web Services (AWS) Simple Storage Service (S3) is an excellent choice for its cost-effectiveness and accessibility. It offers a pay-as-you-go pricing model, where you only pay for the storage you use and allows access to your images from anywhere with an internet connection. In this blog post we will go over how to store images for your website in AWS S3.

Jordan Wu
5 min·Posted

Table of Contents
Create a Free AWS Account
AWS Free Tier offers many of their products for free as free trials, or 12 months free, or always free. It's a good way to try their products at no cost. The AWS Free Tier for Amazon S3 will give you free storage of 5 GB for 12 months. That's potentially thousands of images being stored for free! After the free 12 months, it will cost a fraction of a penny to continue storing your data in S3 based on Amazon S3 Pricing. If you don't already have an AWS account. You can create a free account.
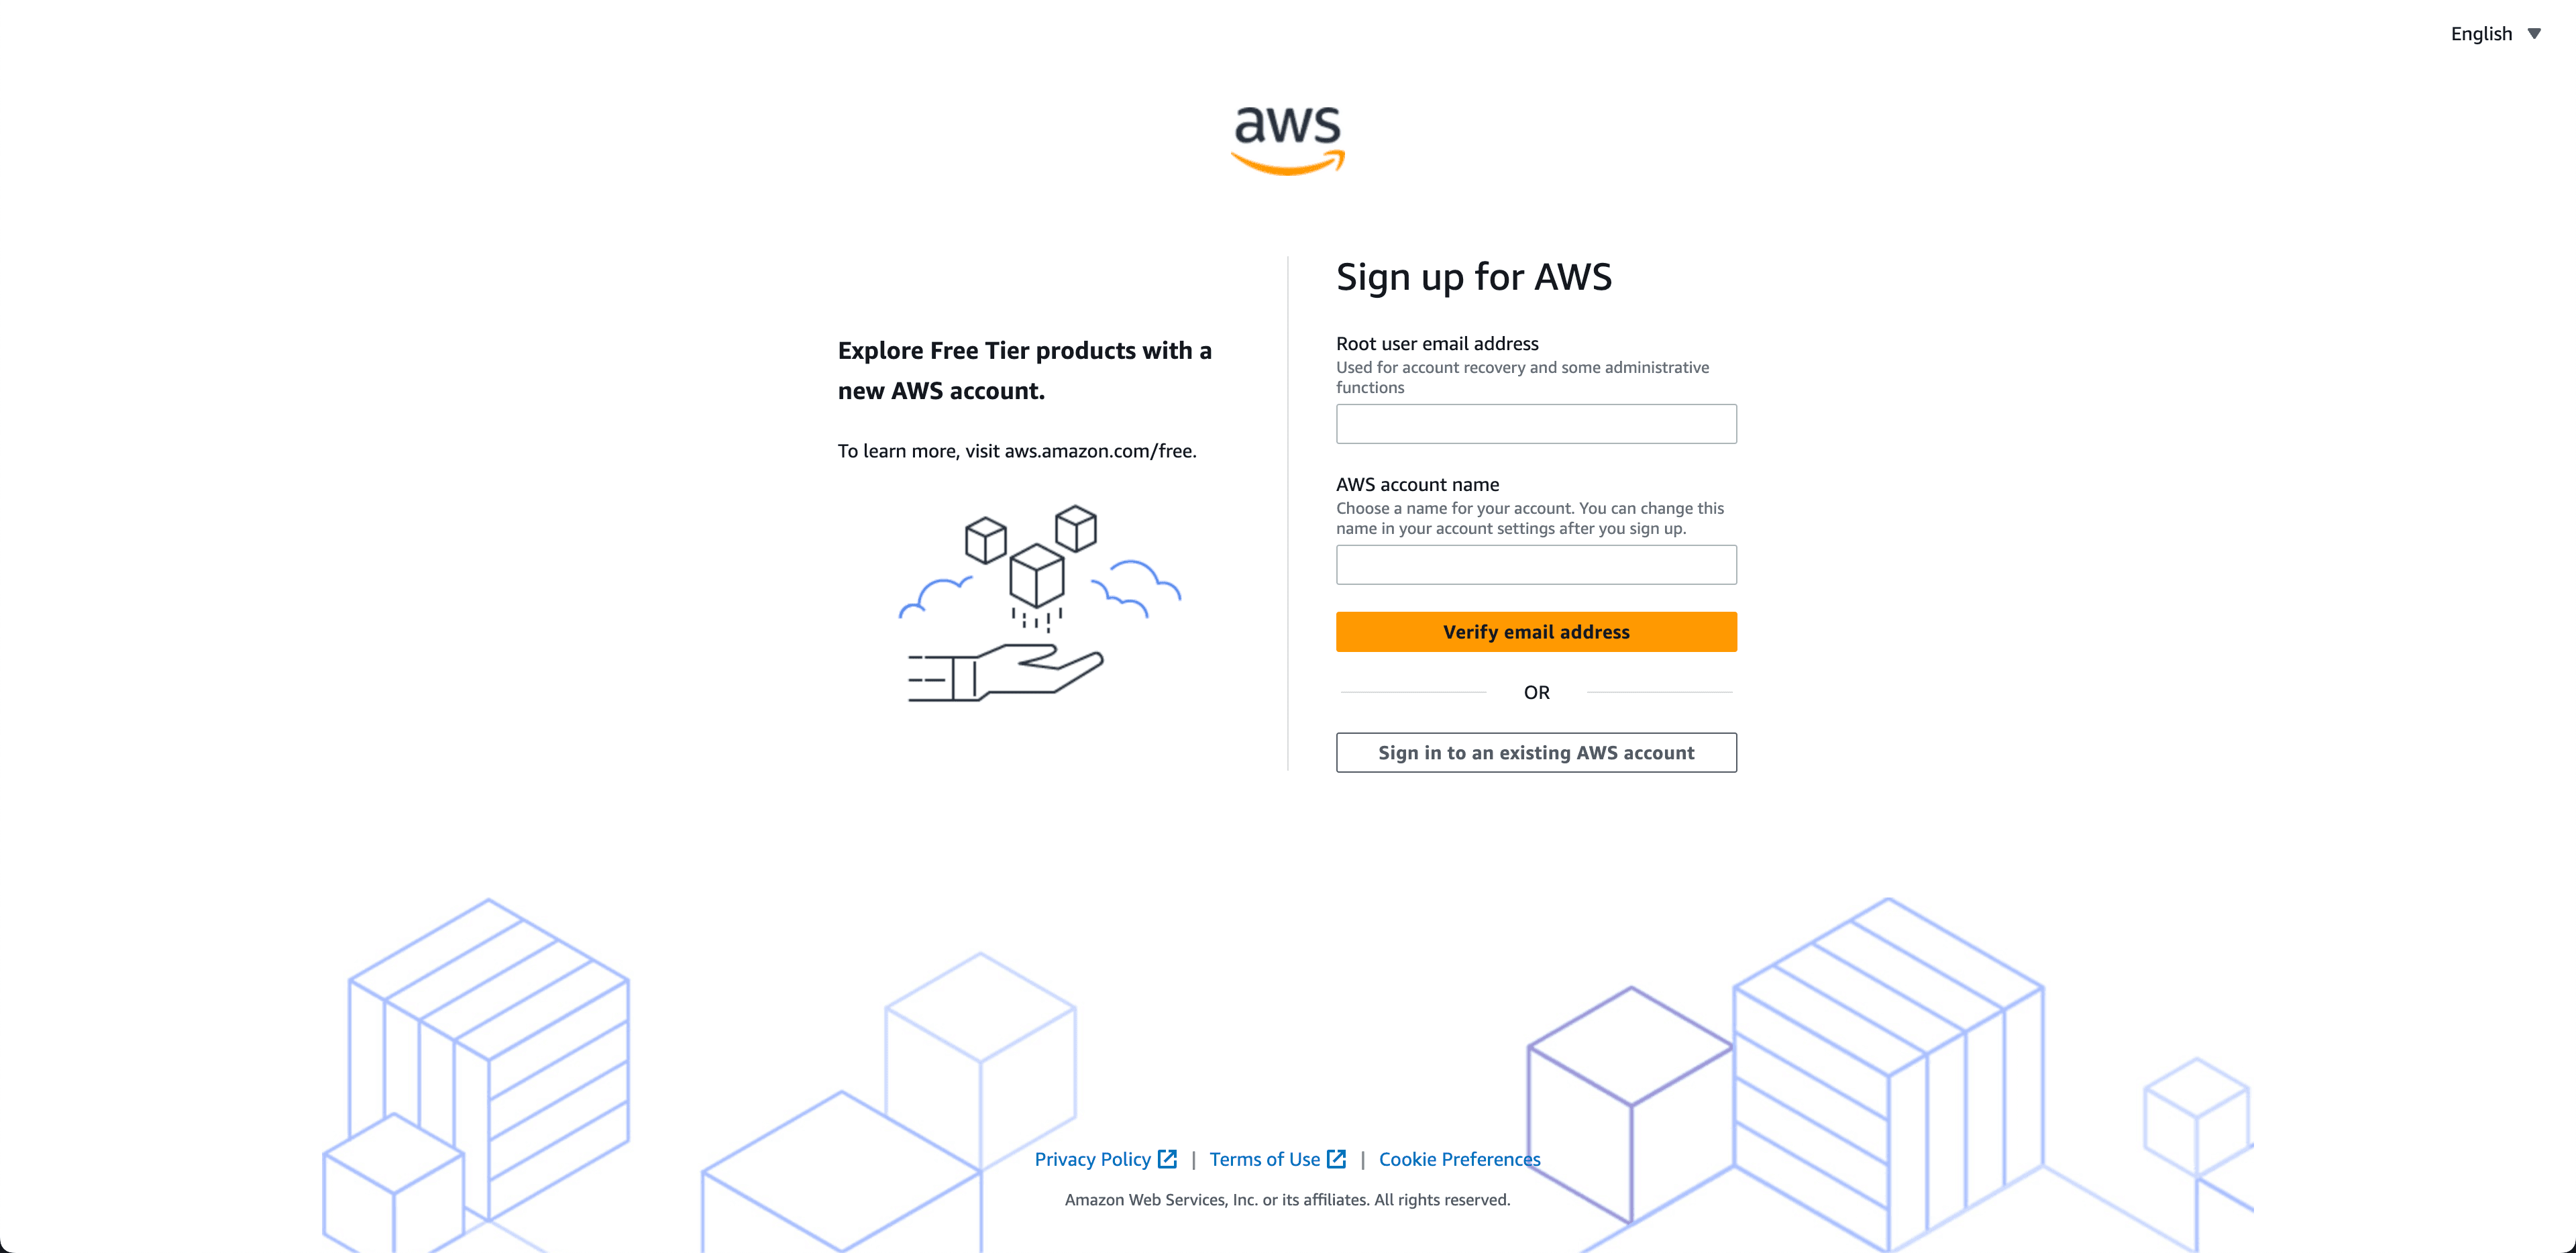
For "Root user email address" you would want to use your primary email address to help with account recovery. The "AWS account name" refers to the name associated with your AWS account. When you sign up for an AWS account, you provide a name for your account during the registration process. This name can be used for identification and organization purposes within the AWS Management Console and other AWS services.
Create a S3 Bucket
Amazon S3 is an object storage service that stores data as objects within buckets. You can think of an object as a file and has metadata that describes the file. While a bucket is a container for objects. To upload your images to Amazon S3, you must first create an Amazon S3 bucket in one of the AWS Regions. There are a few ways to create new buckets, you would create one using the S3 console.
- Sign in to the AWS Management Console and open the Amazon S3 console at https://console.aws.amazon.com/s3/.
- In the left navigation pane, choose Buckets.
- Choose Create bucket.
- For Bucket name, enter a name for your bucket. (After you create the bucket, you cannot change its name.)
- For Region, choose the AWS Region where you want the bucket to reside. (To minimize latency and costs and address regulatory requirements, choose a Region close to you.)
- Under Object Ownership, keep ACLs disabled (recommended).
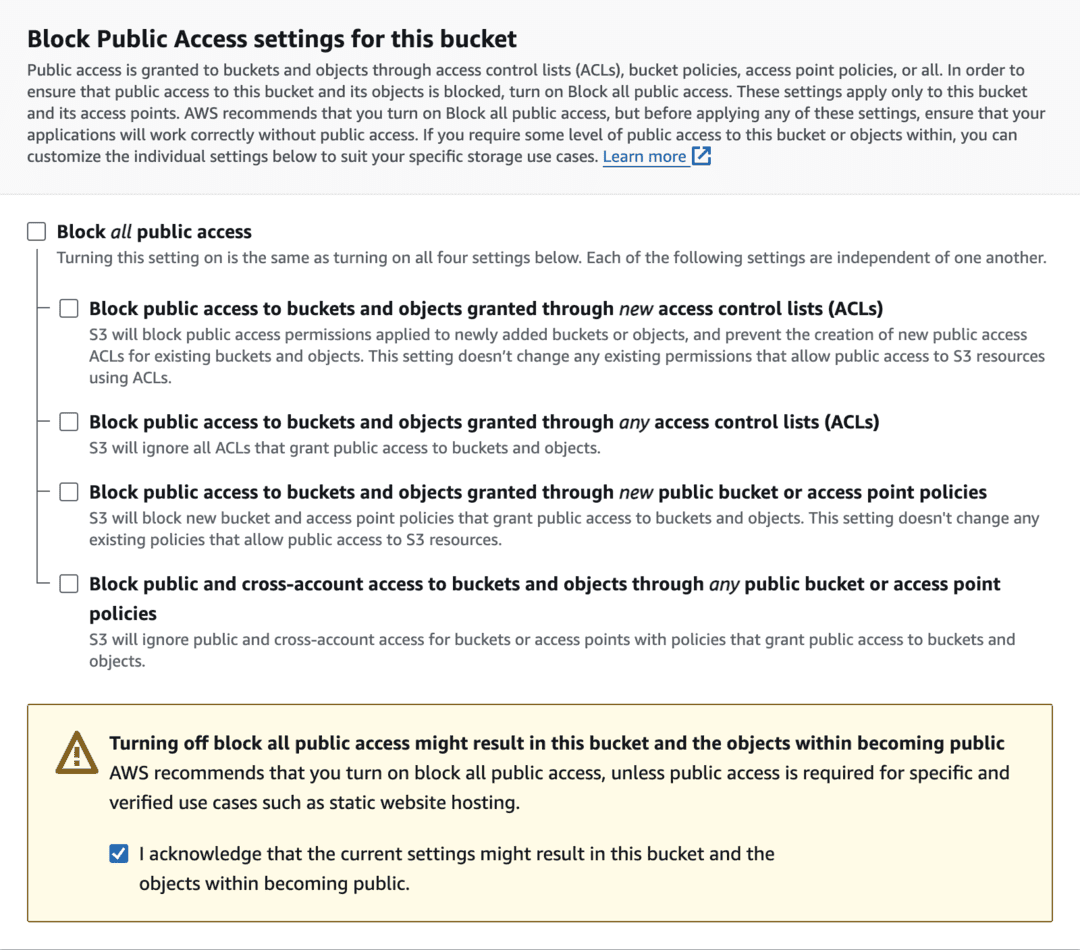
- Under Block Public Access settings for this bucket, uncheck Block all public access and check I acknowledge that the current settings might result in this bucket and the objects within becoming public.
- Choose Create bucket.
Add a Bucket Policy
Buckets and the objects in them are private and can be accessed only if you explicitly grant access permissions. To make the objects in your bucket publicly readable, you must write a bucket policy that grants everyone s3:GetObject permission.
After you edit S3 Block Public Access settings, you can add a bucket policy to grant public read access to your bucket. When you grant public read access, anyone on the internet can access your bucket.
- Under Buckets, choose the name of your bucket.
- Choose Permissions.
- Under Bucket Policy, choose Edit.
- To grant public read access for your website, copy the following bucket policy, and paste it in the Bucket policy editor.
{
    "Version": "2012-10-17",
    "Statement": [
        {
            "Sid": "PublicReadGetObject",
            "Effect": "Allow",
            "Principal": "*",
            "Action": [
                "s3:GetObject"
            ],
            "Resource": [
                "arn:aws:s3:::Bucket-Name/*"
            ]
        }
    ]
}
- Update the
Resourceto your bucket name. - Choose Save changes.
Upload an Object to Your Bucket
Now that you have your bucket policy that allows all users to read any object in your bucket. You're ready to upload an object to the bucket. An object can be any kind of file: a text file, a photo, a video, and so on. The maximum size of a file that you can upload by using the Amazon S3 console is 160 GB.
- Open the Amazon S3 console at https://console.aws.amazon.com/s3/.
- In the Buckets list, choose the name of the bucket that you want to upload your object to.
- On the Objects tab for your bucket, choose Upload.
- Under Files and folders, choose Add files.
- Choose a file to upload, and then choose Open.
- Choose Upload.
Once you uploaded your object. You should be able to see the file using the Object Url. The file can be a photo, a video, gif, etc. Storing your files on AWS S3 provides a highly reliable, secure, scalable, cost-effective, and versatile solution for managing your data in the cloud, making it a preferred choice for businesses of all sizes and industries. Many companies use Amazon S3 for a range of use cases, such as data lakes, websites, mobile applications, backup and restore, archive, enterprise applications, IoT devices, and big data analytics.
